
Importing our solution (Dynamics >= 9.2)
- If you are using Dynamics version 9.2 or newer, you can import our solution directly. You can find information on this in this article.
- For older Dynamics versions (<9.2), please read this article.
Adding LeadResearch to your Lead / Contact / Account form
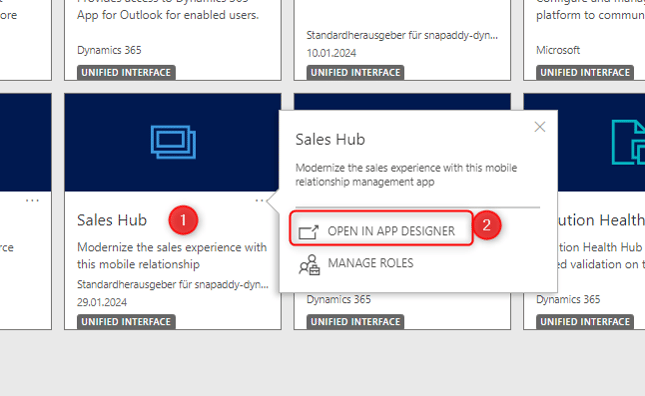
- Log in to Microsoft Dynamics 365 and call up the Power Apps by clicking on "Sales Hub", for example.

- Select the application you want to edit and click on "Open in App Designer".
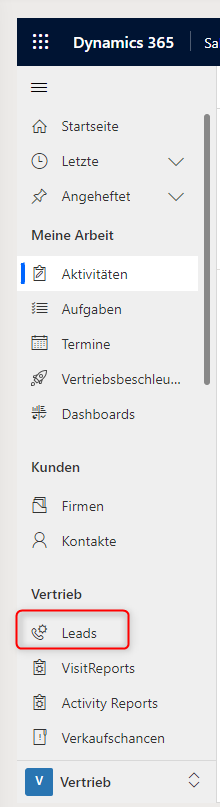
- Select leads, contacts or companies (in this example we are working with leads).
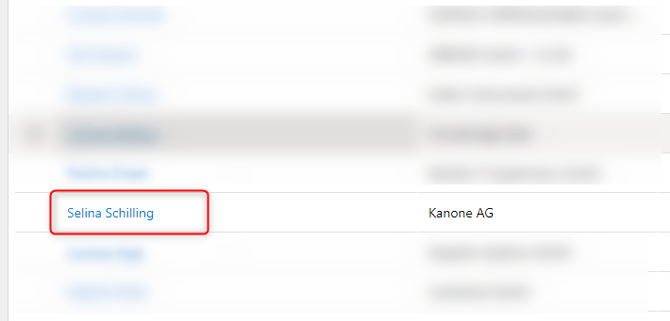
- Select any lead.
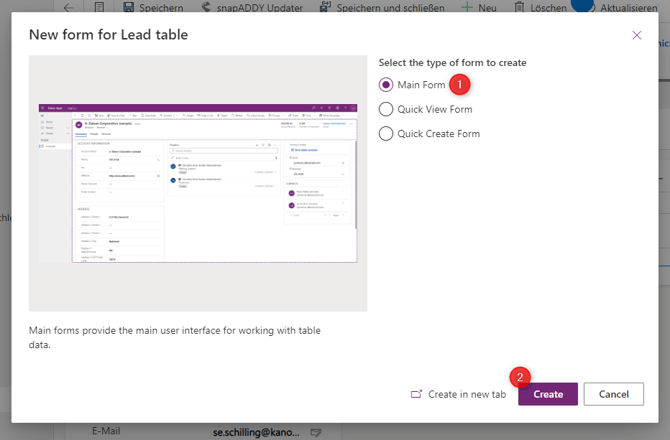
- Create a new form.
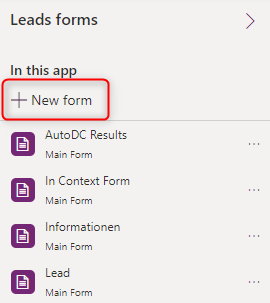
- Select "Main Form" and click on "Create".
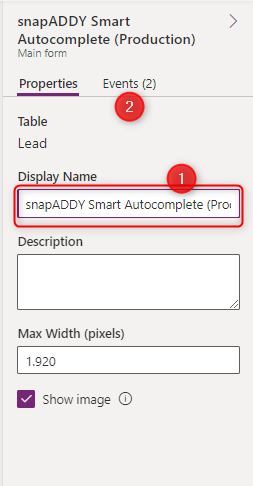
- Enter a name and click on "Events".
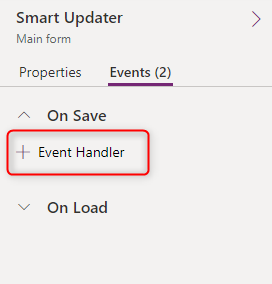
- Click on "Event Handler".
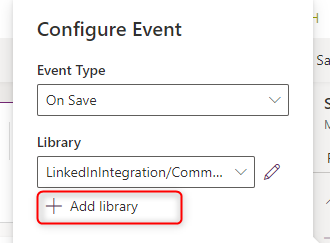
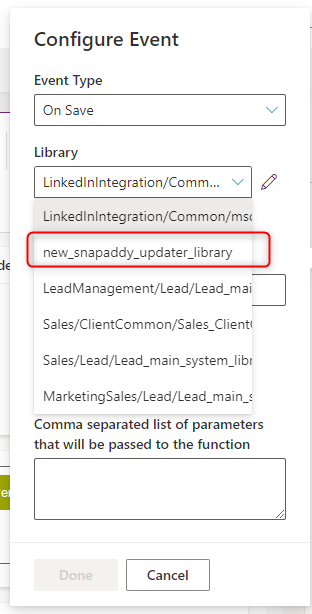
- Click on "Add library".
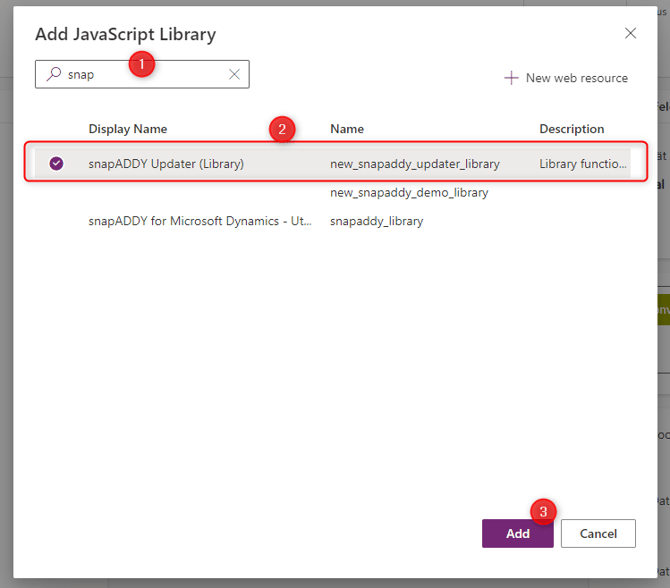
- Search for the snapAddy Updater (Library) and add it.
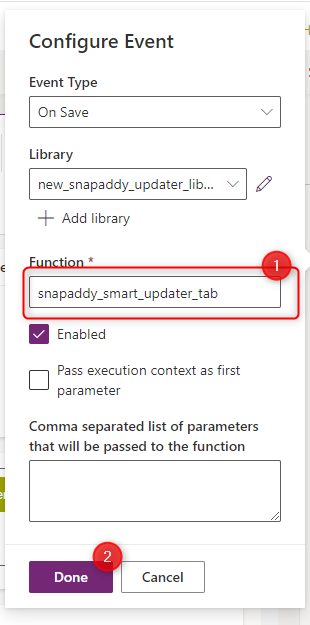
- Name the function
- Click on "Done".
Back to the tab
Add the following standard fields to the tab:
|
Lead |
Contact |
Account |
Column 1
|
Column 1
|
Column 1
|
|
Column 2
|
Column 2
|
The order and column of the fields does not matter. Other / "Custom" fields can be connected via custom mapping.
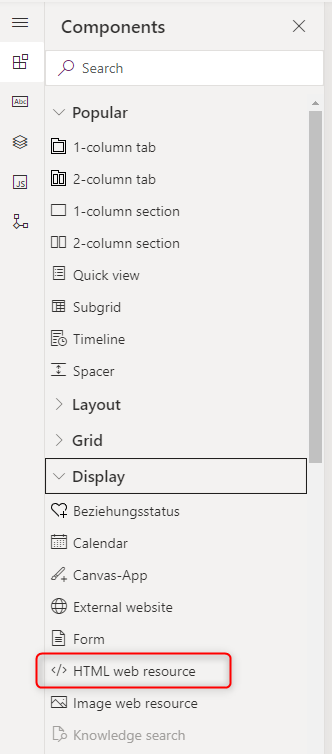
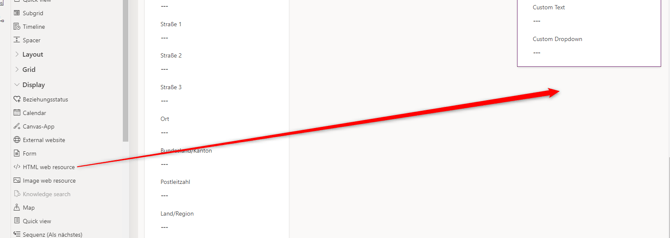
- Add a web resource.
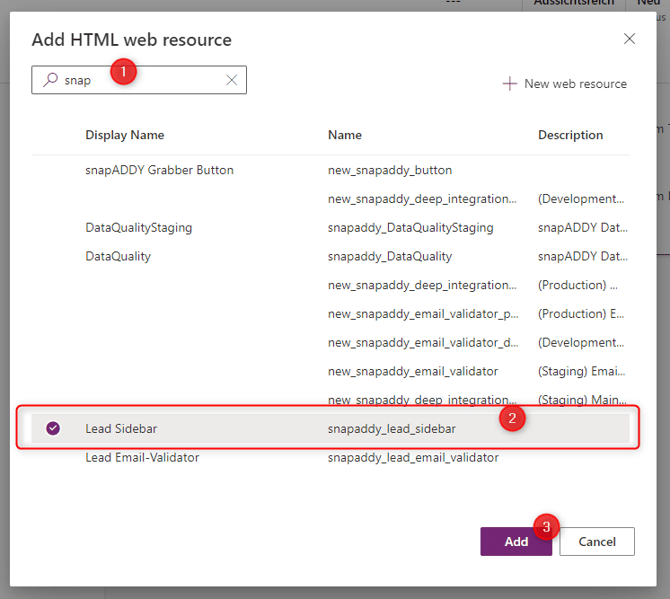
- Search for "snapaddy_lead_sidebar" (or the name you entered when creating the main sidebar web resource). Enter a name and a description . (Note: This sidebar can also be used for contacts and companies).
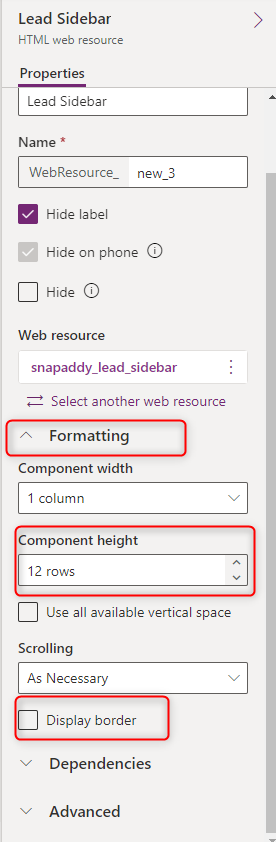
- Open the "Formatting" tab and change the number of lines to 12 and remove the tick from "Display Border ".
- Drag the web resource into the rights column if necessary.
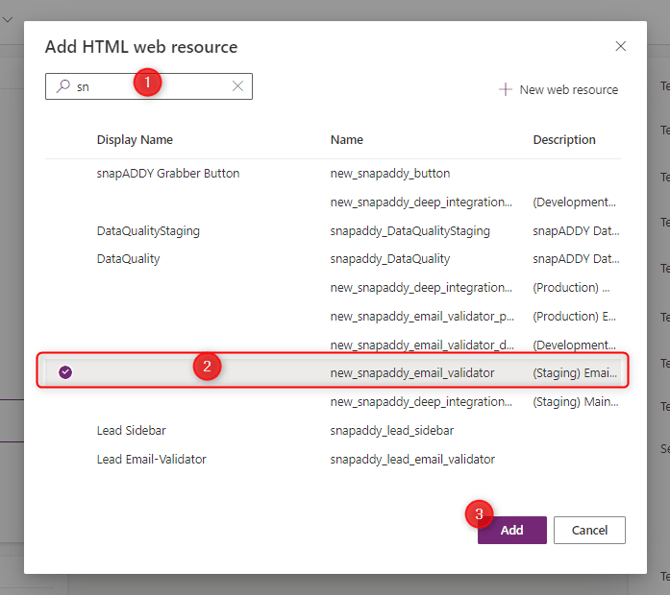
- Add another web resource to the form.

- Search for "snapaddy_lead-email_validator" (or the name you specified when creating the email validator web resource). (Note: This can also be used for both contacts and companies).
- Select the "Formatting" tab and change the number of lines to 2 and remove the tick next to Show frame.
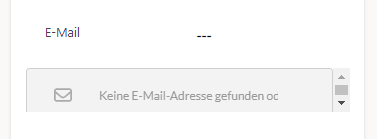
- Drag the new web resource under the email field.
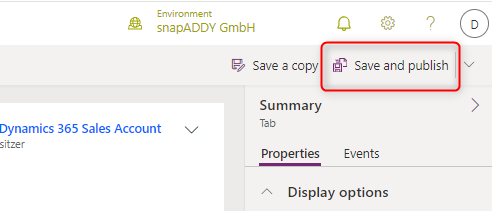
- Save and publish the changes.
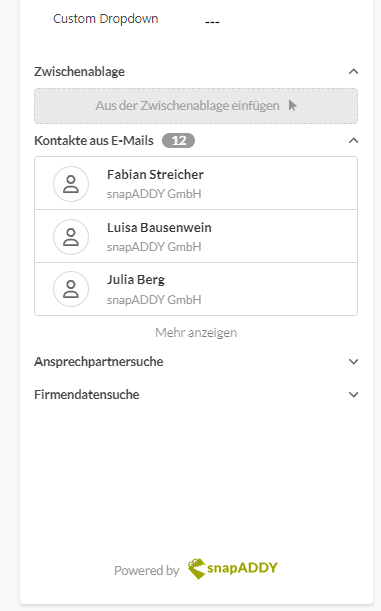
End Result
Smart Autocomplete / Smart Updater are successfully integrated into the Lead / Contact and Account forms in your Dynamics CRM.
- Open a lead / a contact or a company (depending on which entity you have just edited.
- The new LeadResearch tab should appear and the Smart Autocomplete / Smart Updater web resources should load.

If you have any further questions, please feel free to contact support@snapaddy.com or your Customer Success Manager.