
I. Installation
- Open the snapAddy LeadResearch package in AppExchange → Link
- If you want to install LeadResearch in your Production Environment, click on Get It Now.

- If you want to install LeadResearch in your Sandbox please select Try It
- Click on Confirm and Install.

- Choose Install for all Users and click on "Install" resp. "Upgrade".

- Wait a moment until the package is installed in your organisation.
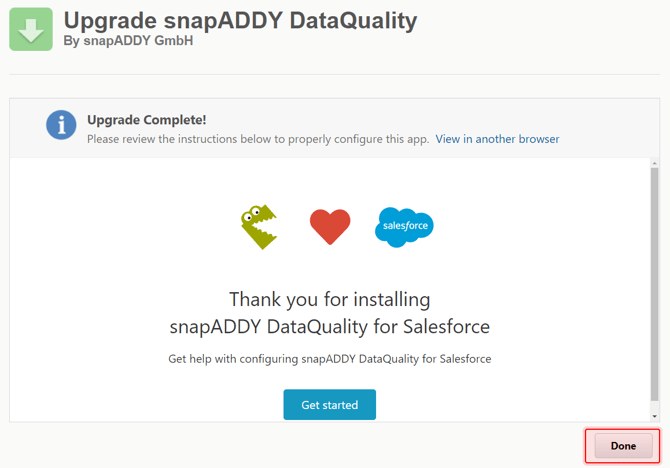
-png-3.png?width=670&height=280&name=image%20(14)-png-3.png)
- Click on Done, you will be automatically redirected to your Salesforce instance.
In the next steps, you will learn how to configure the snapAddy LeadResearch app 👇
II. Application Configuration
- Navigate to Setup → Platform Tools → Applications → Connected Applications → Manage Connected Applications
- Select the snapAddy App (click on the name and not on the "Edit" button!)

- Click on "Edit Policies".

- Change the OAuth policy for Approved users to 'Administrator approved users are pre-authorised'

- Klick on "Save".

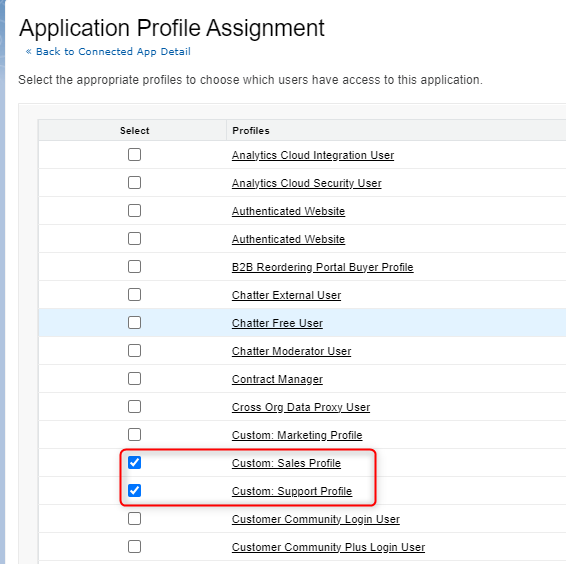
- On the "Connected application snapAddy" page, click on Manage Profiles

- Select all profiles that should have access to snapAddy LeadResearch and click "Save" at the bottom of the screen
In the next steps, you will learn how to add the snapAddy LeadResearch tab to the main navigation bar 👇.
III Adding the snapAddy LeadResearch tab
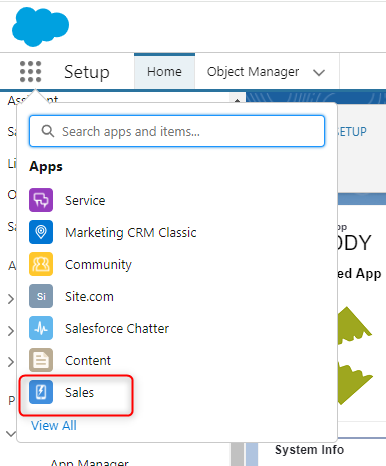
- Open the app in which LeadResearch should appear.
- Select the pencil icon in the navigation bar.

- Click on "Add more Items".

- Search for "LeadResearch" and click on the ➕ symbol.

- Select "Add 1 Nav Item".

- Arrange the navigation points as you wish and click on "Save".

Congratulations! You can now use snapAddy LeadResearch in Salesforce 🎉🥳.

IV. Trouble Shooting ⚠
If you have more questions, feel free to contact our support under support@snapaddy.com or your Customer Success Manager.