
- Log in to your SAP tenant as an administrator.
- Go to Administrator → Mashup Authoring.
- Click on New → HTML Mashup.

Configure the HTML-Mashup as follows:
- General Information
-
Port Binding Type: Without Port Binding
-
Mashup Category: Application Integration
-
Mashup Name: snapAddy LeadResearch

- Configuration Information:
-
Type: URL
-
-
Request-Parameter: Add row
-
Parameter: lang
-
Mandatory: true
-
Parameter Binding: $System → LogonLanguage
-
If there are no parameters shown, please first save the mashup and afterwards you could add the parameter!
-
-
-
Request-Parameter: Add row
-
Parameter: origin
-
Mandatory: true
-
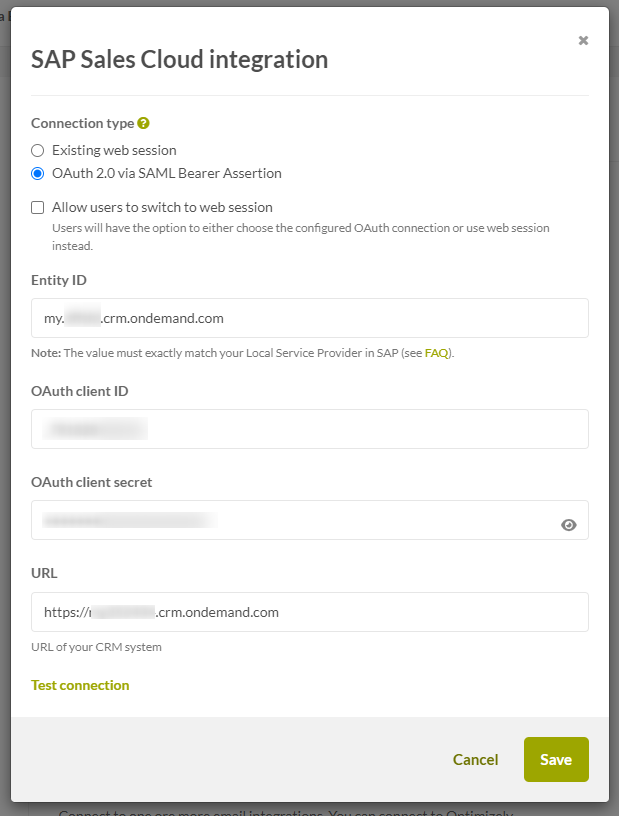
Constant: YOUR TENANT (https://myXX.crm.ondemand.com)
-
-
Request-Parameter: Add Row (optional for snapAdd Ayuto-Login - please read our manual at the bottom on how to set up SAP Auto Login in snapAddy)
-
Parameter: oauthInfo
-
Mandatory: true
-
Parameter Binding: $System → OAuthInfo

-
- Save and Activate the Mashup.
Set up work center
- Go to Administrator → General Settings → Custom Work Center.

- Add a Custom Work Center View also named: snapAddy LeadResearch and assign it to the previously created Work Center.


- Important: Please be aware, that it could take some time before the Work Center becomes visible in the SAP interface.
Set user roles
- Go to Administrator → General Settings → Business Roles.

- Choose any Business Role that should get access to the snapAddy LeadResearch.

- Assign the respective Work Center (+ View) to the Business Role.

Personalize Work Center
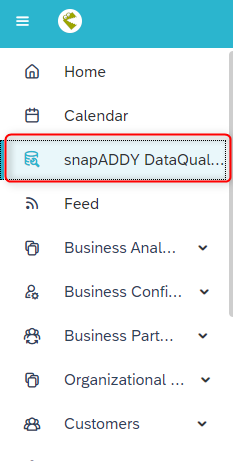
- Go to the freshly created Work Center View snapAddy LeadResearch.
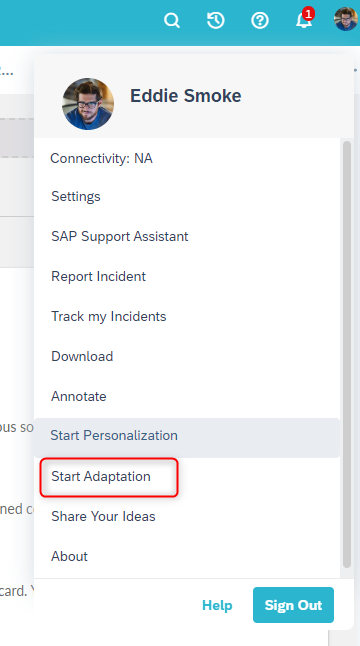
- Click on your user profile in the upper right corner → Start Adaptation.
- Click Add → Mashup
- Search and select snapAddy LeadResearch
- Properties:
- Full Width: true, Show Pane Header: false, Height: 100
- Click Apply
- Click on your user profile in the upper right corner again → End Adaptation
Done. You should be all set-up and successfully integrated snapAdd y LeadResearch with SAP Sales Cloud.
How to set up SAP Auto Login in snapAddy
- Please set-up the OAuth connection with SAP Sales Cloud in the snapAddy Dashboard. For further help regarding the OAuth connection please use the following guide.

- Activate the Login via SAP function under Settings → Login options.

- After the OAuth connection has been successfully established and you have enabled the Login via SAP, please go to Settings → Users
- Edit the users you want to activate the SAP Auto Login for
- Enter the CRM Username from the user
- After this configuration has been done, the user will be automatically logged in in snapAddy LeadResearch in your CRM with the same credentials, that has been used for logging in in the CRM.
If you have any further questions, please feel free to contact support@snapaddy.com or your Customer Success Manager.