
If your organization uses the Security Assertion Markup Language (SAML) standard for login authentication, you can configure snapAddy for signing in through a supported Single Sign-On (SSO) provider (e.g. Azure AD, G Suite, ADFS, OneLogin, Okta etc.)
User accounts can be managed at snapAddy via an external SAML 2.0 identity provider, which can be configured in the snapAddy dashboard (app.snapaddy.com). snapAddy uses the email address as unique identifier for their users. To ensure a successful integration of SAML 2.0 workflow, the following format must be used for the NameID:
urn:oasis:names:tc:SAML:1.1:nameid-format:emailAddress
The following is an example how to set up SAML 2.0 single sign-on for Azure.
Step 1:
-
Go to portal.azure.com and log in with your account
-
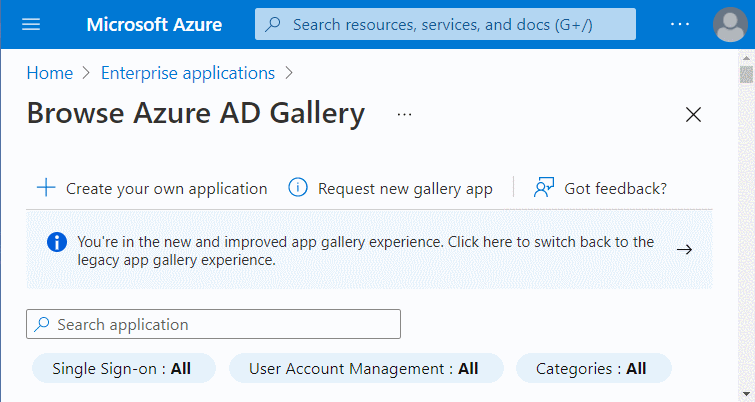
Search for the word "enterprise" in the search bar and click on "Enterprise Applications"
-
Select "New application"
Step 2:
-
Click on "Create your own Application"
-
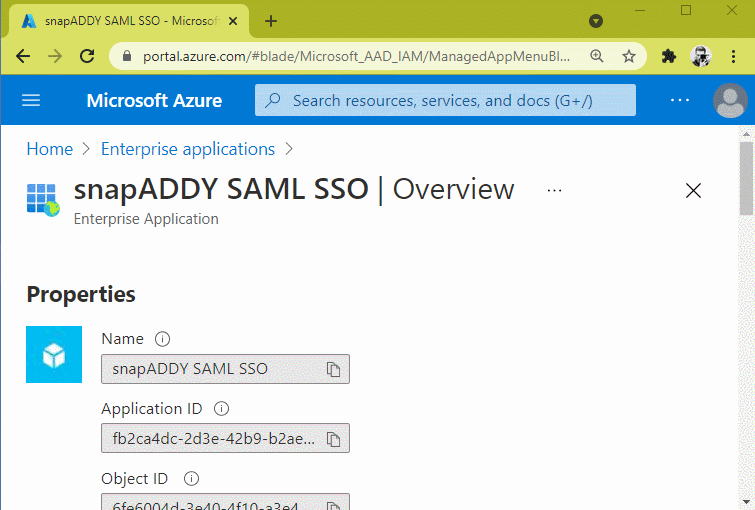
Enter a name for the new application (e.g. snapAddy SAML SSO)
-
Make sure, that the radio button "Integrate any other application you don't find in the gallery" is selected
-
Click "Create"
Step 3:
-
The SAML application will now be created in Azure. This will take a while.
Don't close this window. -
In the meantime, go to the snapAddy Dashboard
-
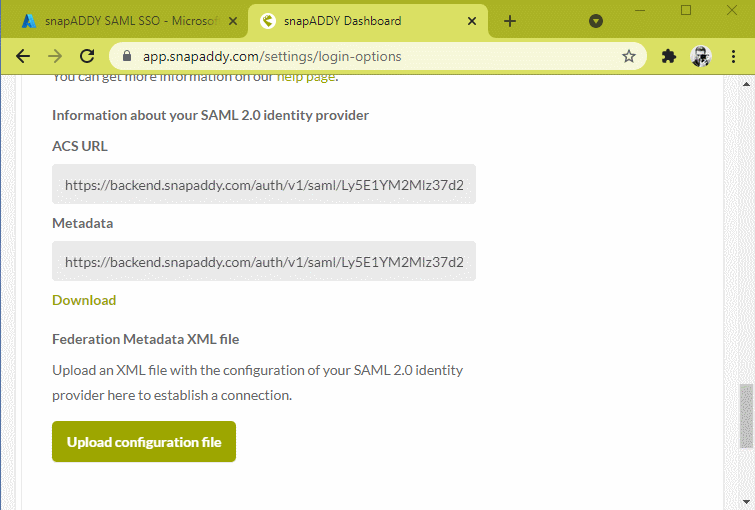
Go to Settings → Users and Licenses→ Login & Invitations
-
Navigate to "SAML 2.0 - Single Sign-On"
-
Under "Metadata" click on "Download" and save the metadata.xml file
Step 4:
-
Go back to the Azure window
-
Open the menu and click on "Single-sign-on"
-
Click on the card with the name "SAML"
-
Click on upload metadata and upload the file that you downloaded previously from the snapAddy dashboard
-
After a successful upload, navigate to "SAML Signing Certificate" → "Federation Metadata XML" and click download
-
Save the metadata on your computer
Step 5:
-
Go Back to the SAML settings in the snapAddy Dashboard (Settings → Users and Licenses → Login & Invitations)
-
Under "Federation Metadata XML file" click "Upload configuration file"
-
Select the file that you previously downloaded from Azure
-
That completes the setup ✅

If you have more questions, feel free to contact our support under: support@snapaddy.com or your Customer Success Manager.