Install snapAddy Smart Integration
- Open the CRM connection page within the snapAddy Dashboard
- Select HubSpot and click on "Save and connect"
- A new window will pop up that asks you to login to HubSpot and select the Instance in which snapAddy Smart Integration should be installed
- You will get redirected to the Dashboard and see a success message
- Smart Integration is now installed and will show up in the right Sidebar for every HubSpot contact you or any of your colleagues open

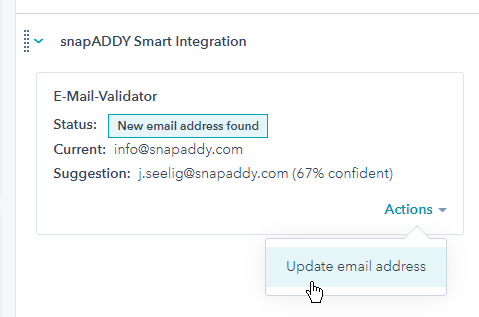
Update email addresses with one click within snapAddy Smart Integration
Set the following scopes / permissions when creating a private app / access token:
crm.objects.owners.read
crm.objects.contacts.read
crm.objects.contacts.write
crm.objects.companies.read
crm.objects.companies.write
With these scopes / permissions, you allow snapAddy to read information of the current user, the opened contact, the company of the opened contact and update contacts / companies on your behalf.
Copy the token and follow the next steps:
- Open the Organization wide integration settings within the snapAddy Dashboard
- Either edit an existing HubSpot integration or click on "Add another CRM system" and select HubSpot
- Enter the created token in the "Private app access token" input field and click on "Save"
- That's all. You can use snapAddy Smart Integration to update contact emails within HubSpot now.