
- Please login at https://login.salesforce.com/
- Open up the detail view of any Lead, Contact or Account and open the "Lightning App Builder" by clicking on "Edit Page" under the settings gear icon in the top right corner.

- Click on the tab bar on the right of the screen and add a new tab.

- Select Tab Label "Custom" and set the Custom Label to "Smart Updater"

- Move the Smart Updater tab before the first element of the tabs and set the default tab to "Smart Updater". Make sure that this change has been applied correctly. Sometimes it is applied only after the page is saved.

- Drag & Drop the "snapAddy Smart Updater" component from the left side of the screen from the category "Custom - Managed" to the freshly created tab.

- Save the page.

- If you have never applied any changes via the Lightning App Builder to this page before you will be asked to activate it. Click on "Activate".

- Then assign it as org default or activate for the desired profiles.

- Select "Desktop" when assigning the form factor and click "Next".

- Review your assignment and click "Save".

- Leave the "Lightning App Builder" by clicking the arrow in the top left corner.

- Repeat the steps for the other entities (Contact, Account) where you want to enable the Smart Updater feature.
- Search for "Session Settings" in the Salesforce Setup and check if the following box is checked:

If the check mark is set, please remove it. Our integration uses an Aura Component to display the record dialog. This is not compatible with the new Lightning Web Security feature, but only with Lightning Locker.
End Result
The Smart Updater feature is now successfully integrated into the Lead, Contact or Account detail view.

Mapping Custom Fields
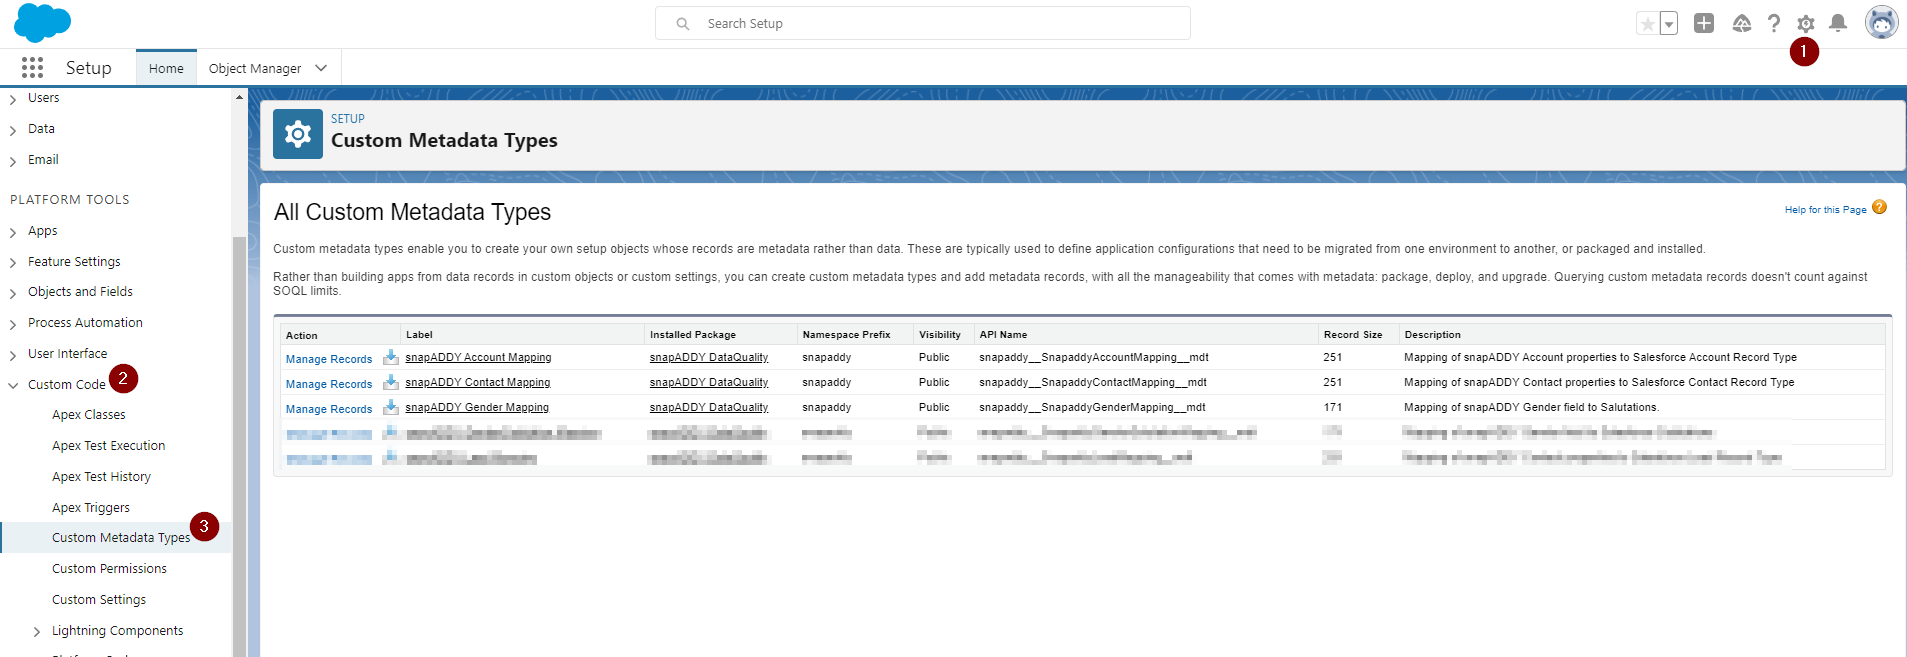
Find it here:
Settings ➡️Custom Code➡️Custom Metadata Type
If you have more questions, feel free to contact our support under support@snapaddy.com or your Customer Success Manager.