VisitReport Dashboard - Guide
Once you have exported your reports, they will land in snapAddy Dashboard. Learn more about it in the video and article description below.
🡸 Previous video Next video 🡺
Why should the reports be checked after an event?
After any event all recorded reports are saved and collected in the snapAddy Dashboard. Before handing the collected data to your Marketing or Sales team we suggest you check the entries and correct them if necessary. This way, you ensure the quality of the leads and contact information passed on to your CRM.
How do I ensure that required fields are filled out?
You have the option to configure certain fields as required via settings in the snapAddy VisitReport-App.
👉🏽 snapADDY VisitReport settings: https://app.snapaddy.com/settings/visitreport
View and check reports
To view and check the collected reports certain user permissions are necessary. Those permissions are being assigned to your account in the process of registration through your internal snapAddy admin. After confirming your account please follow those steps:
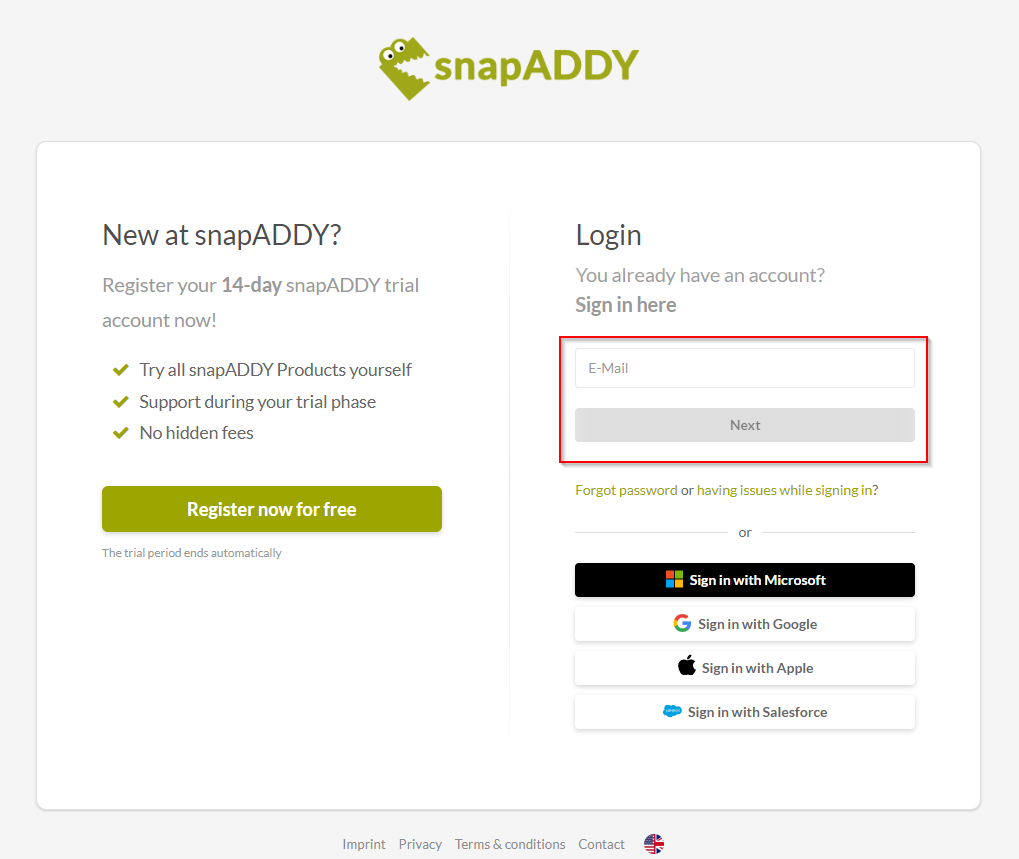
- Log in via https://app.snapaddy.com
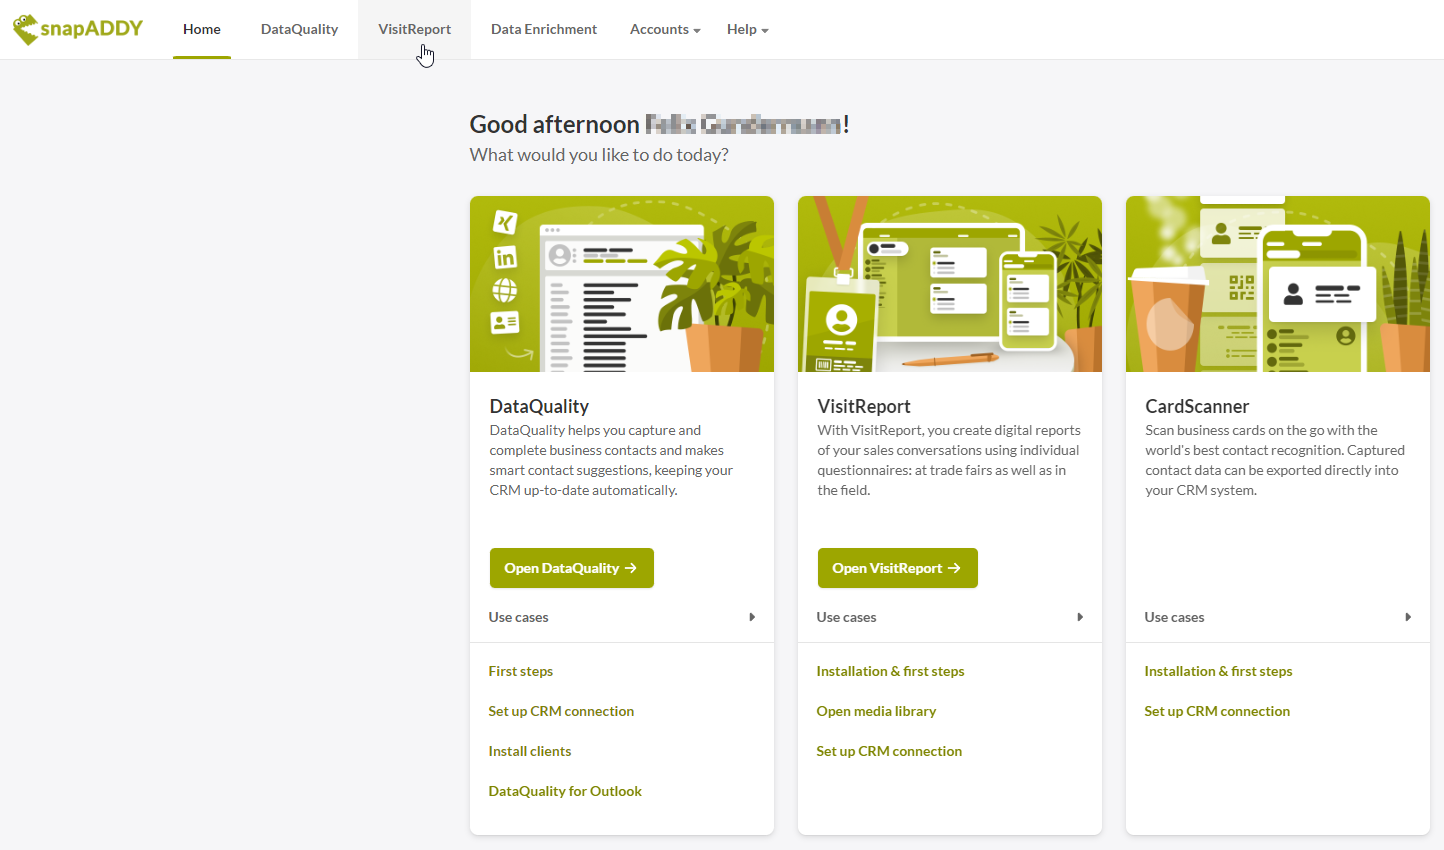
- Click on the VisitReport button
- Choose Live-Events and the desired event

- You can view any recorded report that has been exported to the dashboard
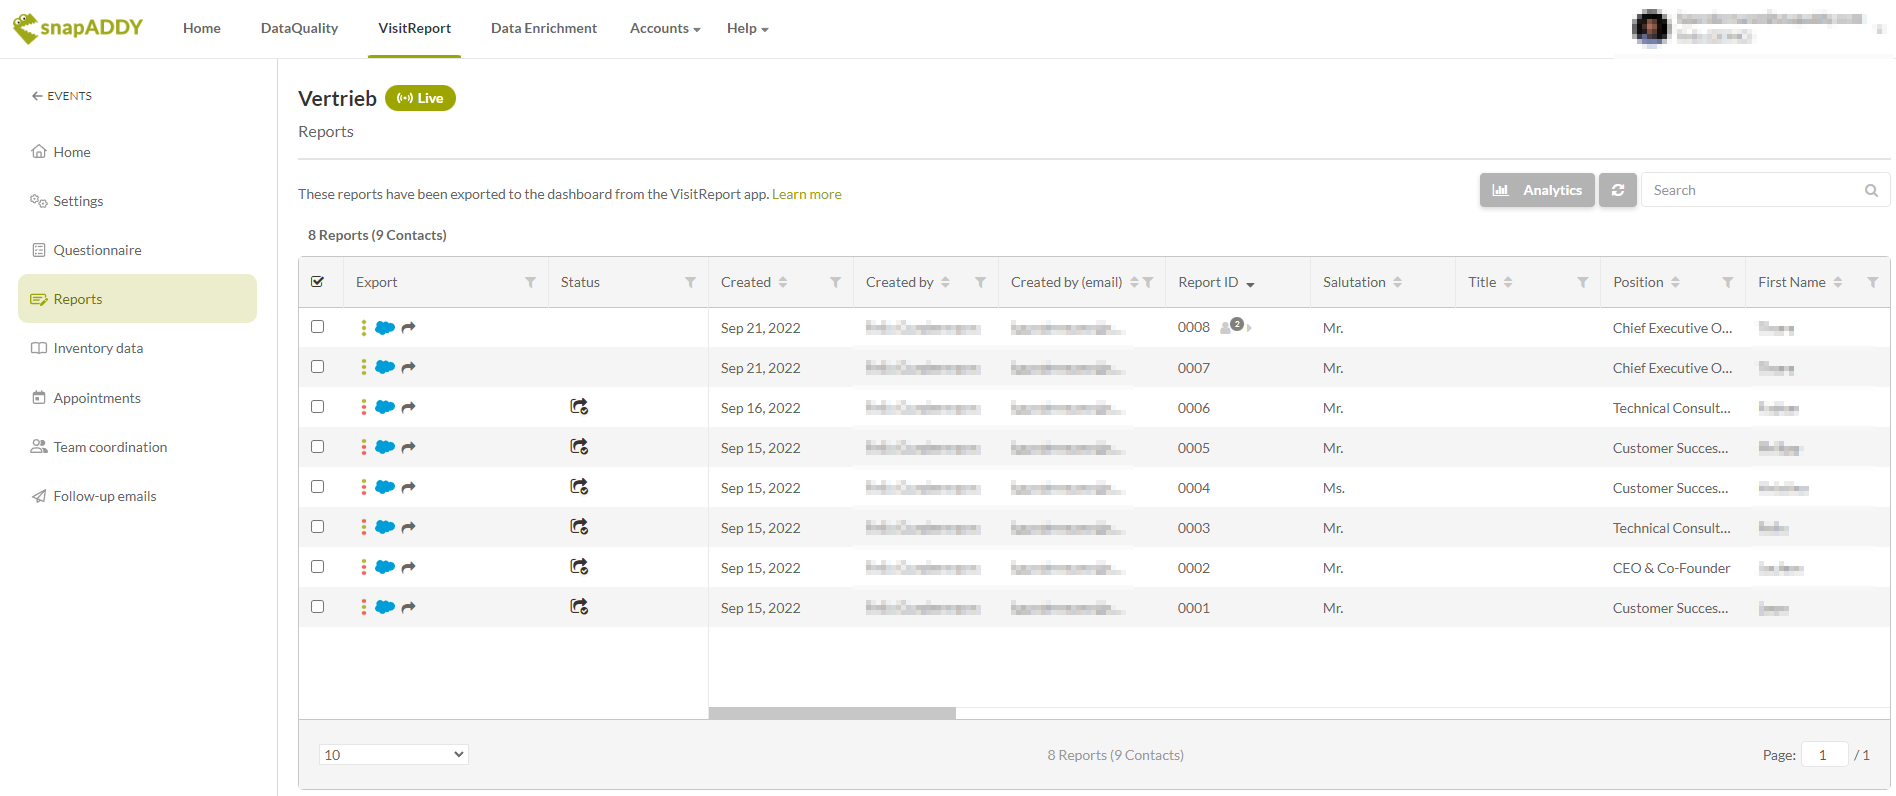
- The overview shows any recorded report with any field. To check the reports simply click in the respective row. All records are sortable and filterable by various criteria.
Tip: Use shift + scroll for horizontal scrolling.
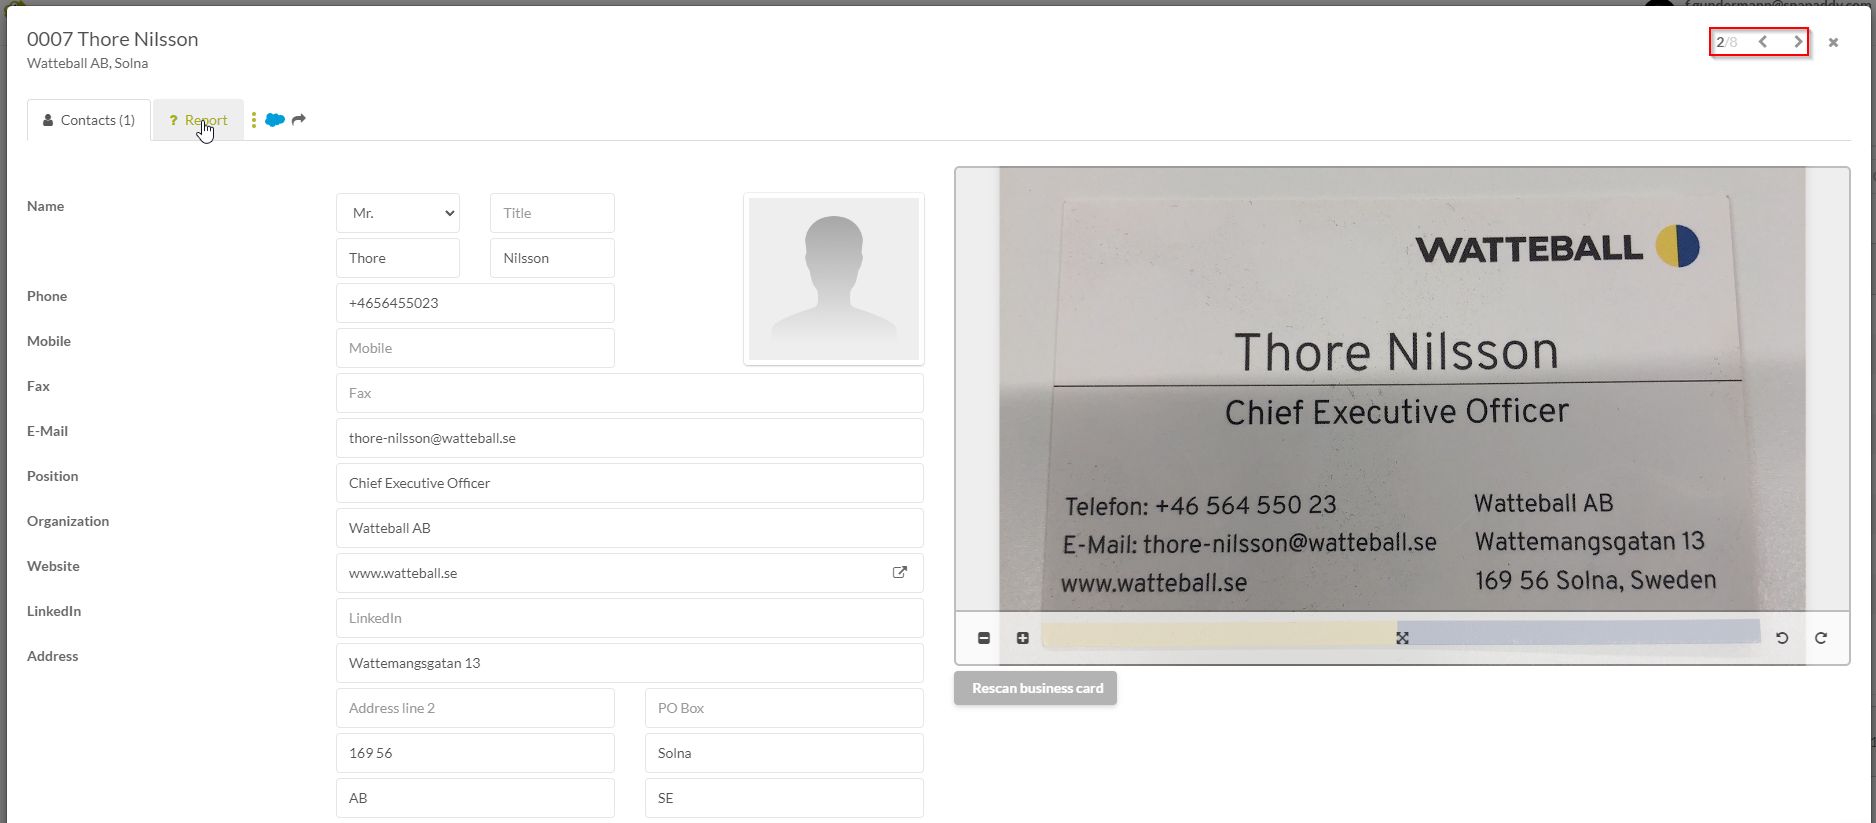
- Any lead can be compared to the business card, checked and corrected if needed. By clicking the report button you are able to view the entire questionnaire and the respective answers. The arrows < > enable you to quickly switch between reports.
- After checking the lead we suggest you mark it as „checked“ to raise the quality of the results.
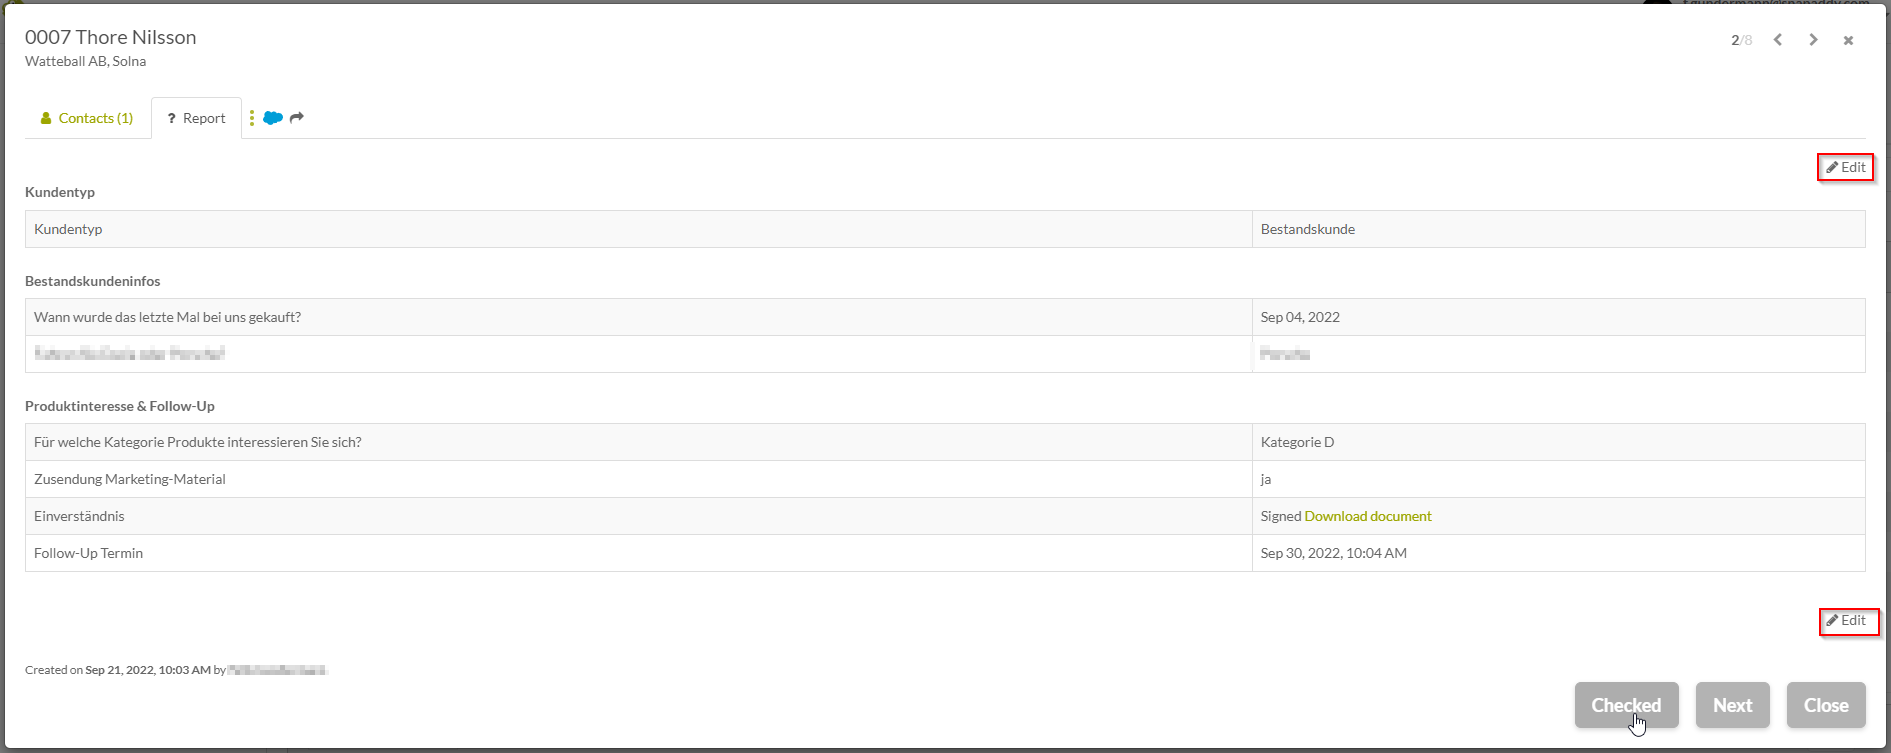
- You can also view the entire record and apply edits if necessary.
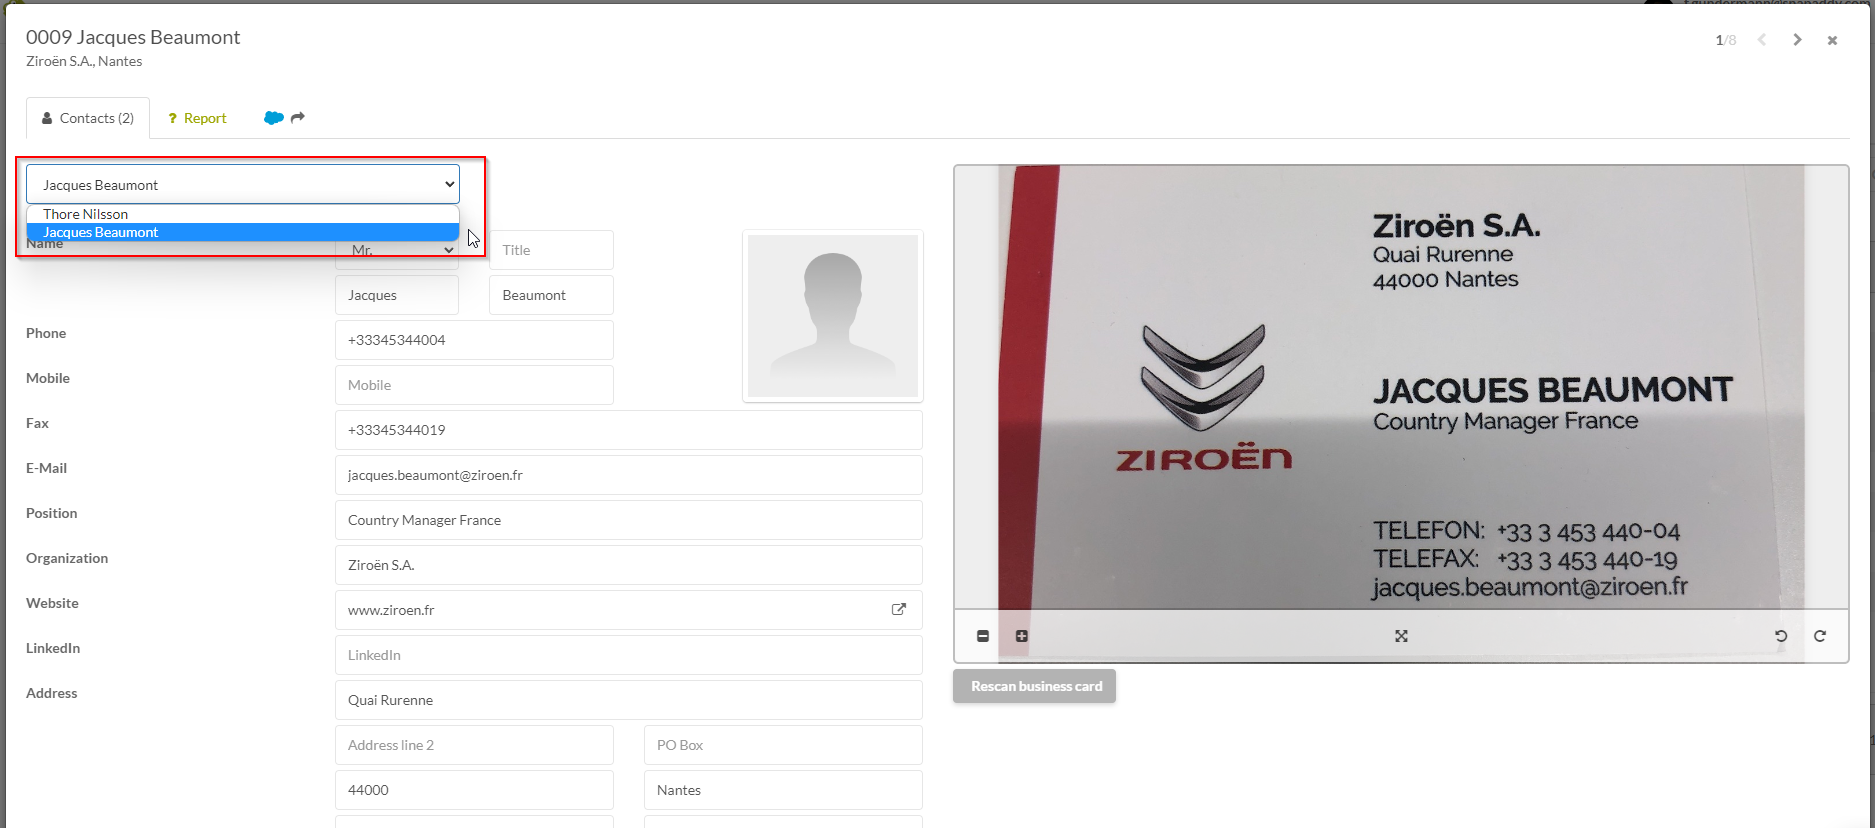
- Leads that haven't been recorded separately appear grouped to one record in the backend
- The grouped records can be selected and checked separately
🚧Problems with data collection
- No complete name or surname
- No valid e-mail address
- Scan error / no business card present
- Manual input error
✅ Quality-Check requirements
- Please take care that any required fields from your CRM or marketing tool are filled out
- Please pay attention to upper and lower case writing
- Please pay attention to the required format (e.g. @ and the domain name in regards of the e-mail address)
- Please pay attention to the format of the country or country code (e.g. if your CRM is configured to expect the input of the country in ISO-code)
Export reports
- Export single reports: mark reports → choose Export
- Bulk export: mark desired reports → choose Export
- Download: Excel, PDF or vCard format
Filtering reports by status
- checked/not checked
- exported/ not exported
Export reports subsequently
- mark desired reports → choose Export
- Analytics regarding reports and single questions are being generated automatically
- Data export, e.g. as PDF
